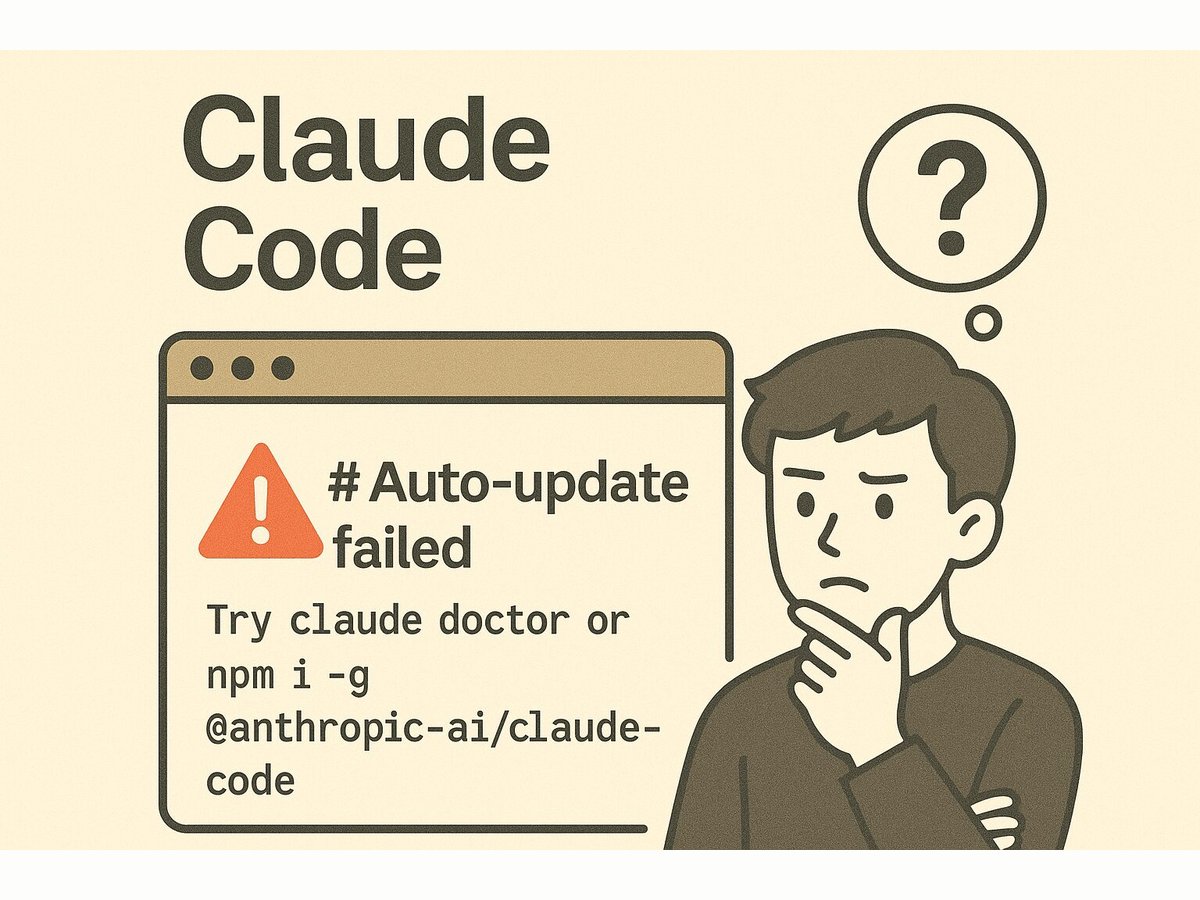
If you install Claude Code with npm, an update error shows up in the lower right quite often.
Auto-update failed · Try claude doctor or npm i -g @anthropic-ai/claude-code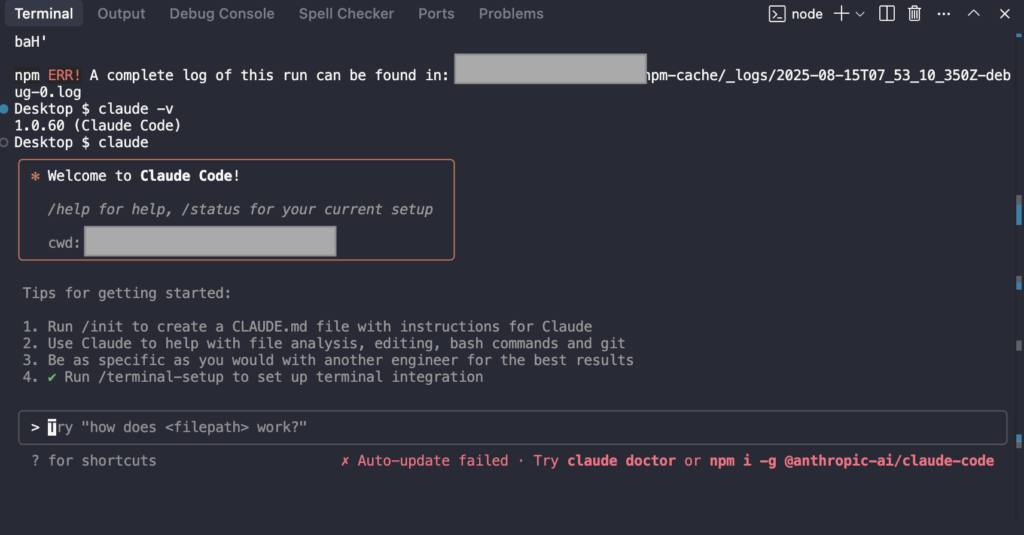
Figure: Installed via npm. It starts, but auto-update failure shows in the lower right.
The workaround is in the official GitHub issue.
Install with the official installer
Install with the following command instead of npm.
Change it to zsh or whatever matches the shell you use.
curl -fsSL http://claude.ai/install.sh | bash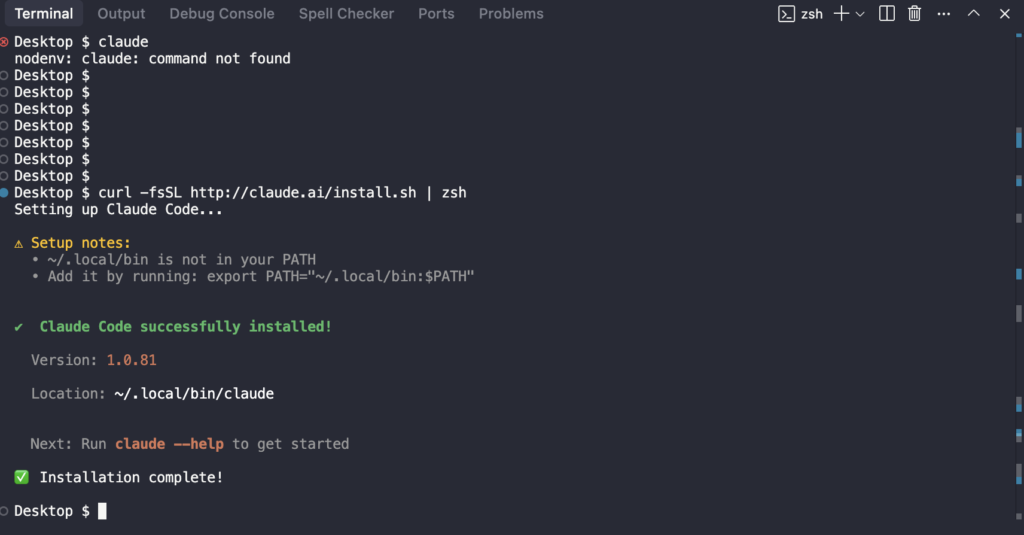
Figure: It finishes, but you get a warning if ~/.local/bin is not on PATH.
Check PATH
It installs as ~/.local/bin/claude.
Confirm that ~/.local/bin is on PATH.
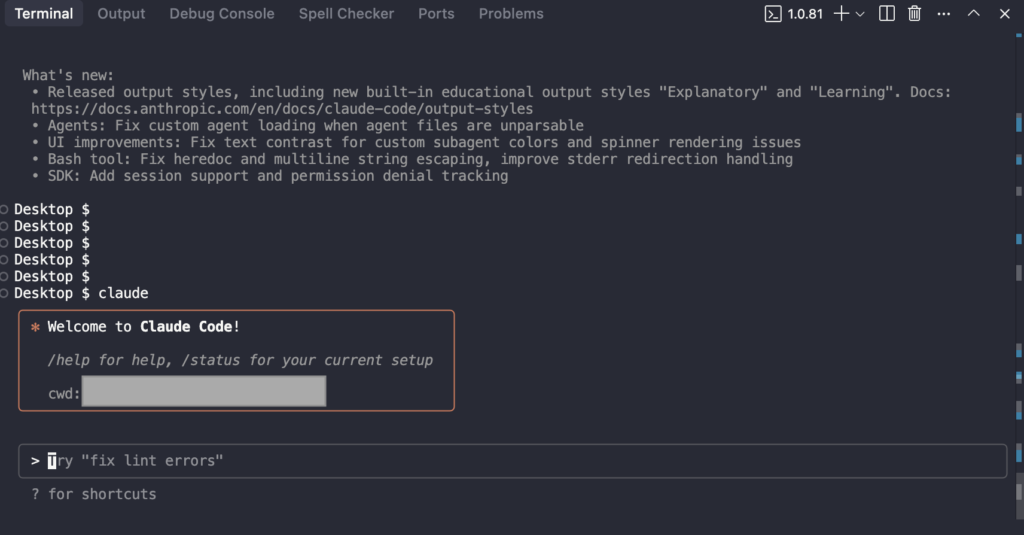
Figure: After putting it on PATH. claude starts.
Takeaways
With a global npm install, auto-update fails easily.
Switch to the official installer and auto-update works.
The install path is ~/.local/bin/claude.
Put ~/.local/bin on PATH.